Kitchen Splashback Tiling: What Actually Matters
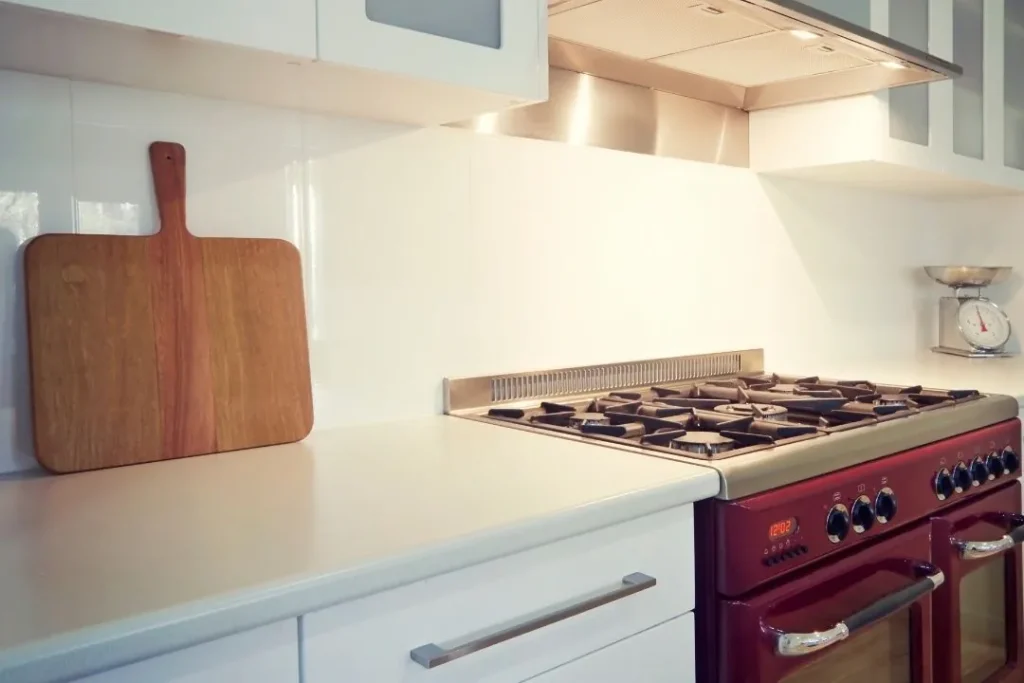
A kitchen splashback is the tiled surface installed on the wall behind a benchtop, sink or cooktop. Its basic job is to protect the wall from cooking splashes, grease, steam and everyday cleaning while also providing a finished surface that is easy to wipe down.
Because splashbacks sit at eye level and usually run across one of the most visible parts of the kitchen, they also have a big impact on how the room looks. Tile size, layout, grout colour and edge finishes all influence the final result.
This post covers the practical decisions worth thinking about before tiling starts, from splashback height and tile size through to powerpoints, grout, trims and finishing details.
Splashback Height and Coverage
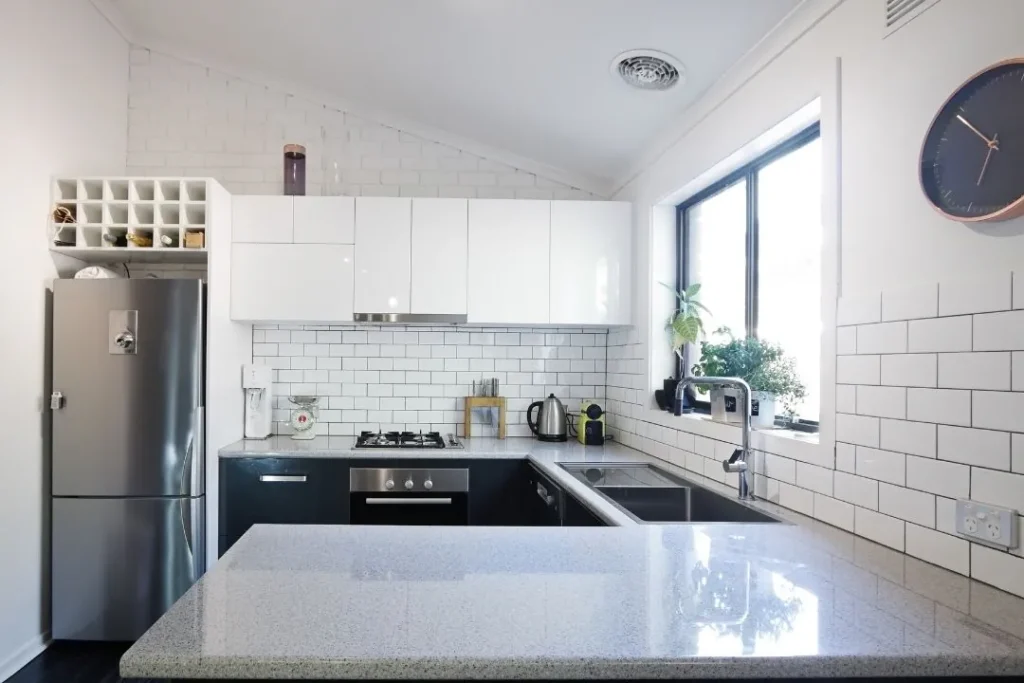
The standard splashback height runs from the benchtop to the underside of the overhead cabinets, typically 600mm. That zone is what catches cooking splatter and steam, so full coverage matters.
Behind a rangehood, some homeowners extend the tiling higher if there are no cabinets above, or tile the full wall to the ceiling for a cleaner look. That is a design choice, but it does affect how much tile you need and how the layout is planned from the outset.
Where there is no overhead cabinetry at all, such as on an open wall beside a window, agreeing on a stop height before tiling starts avoids awkward cuts or unfinished edges mid-wall.
Tile Size Choices for Splashbacks
Smaller tiles, such as 75x75mm or 100x100mm mosaics and subway formats, suit splashbacks well because they are easy to cut around obstacles and give a traditional, textured look. Larger format tiles, such as 300x600mm or 600x600mm, create a sleeker, more contemporary finish but require more precise cutting around powerpoints and rangehoods.
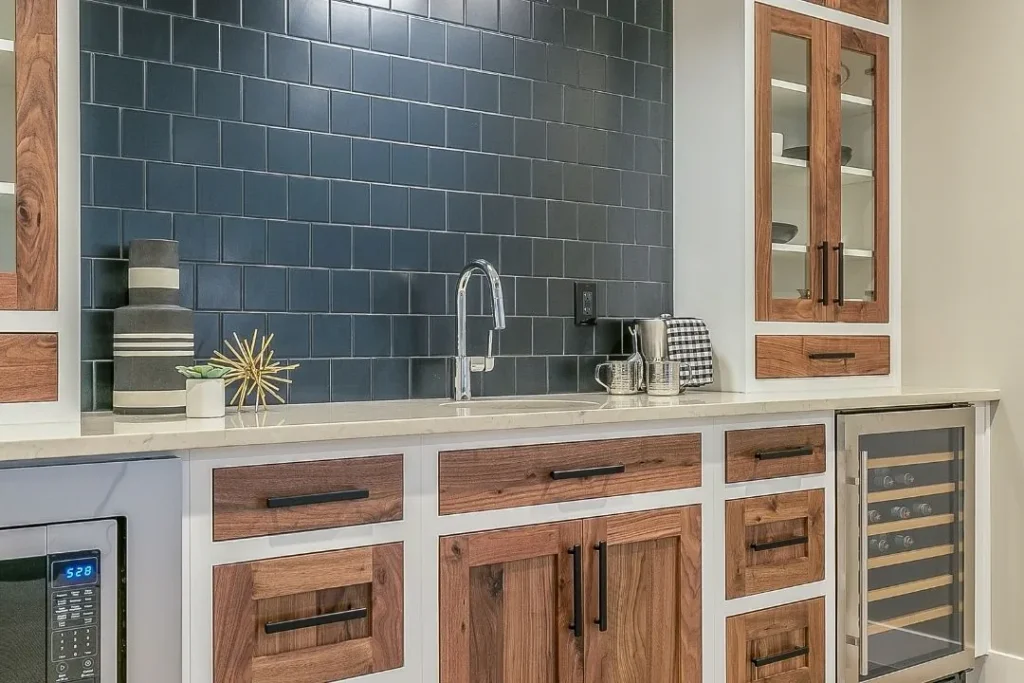
The size of your splashback zone also influences which tile works best. A short run between two windows can look busy with small tiles and cleaner with a larger format. A long, uninterrupted wall gives you more flexibility either way.
Rectified tiles, which have precise, consistent edges, allow for tighter grout joints and a sharper finish. Non-rectified tiles need slightly wider joints to account for natural size variation. Your tiler should flag this when you are choosing tiles.
Layout Around Powerpoints, Windows and Rangehoods
This is where planning matters most. Powerpoints sit within the splashback zone on most kitchen walls, and how the tile layout is set out determines whether cuts fall neatly around them or look awkward.
A good tiler sets out the layout so that cut tiles are balanced and symmetrical, and so that no tile is cut to a sliver. Where possible, cuts should fall at the edges of the wall rather than in the middle of a visible run.
Rangehoods create a similar challenge. The flue or canopy often interrupts the tile run, and the layout needs to account for that before the first tile goes up. Windows within the splashback zone also need careful thought around sill height and how the tile meets the window frame.
Grout Colour and Joint Width
Grout colour changes the entire feel of a splashback. A matching grout colour makes the tiles read as one surface. A contrasting grout, such as dark grey with white subway tiles, emphasises the grid pattern and gives a more graphic look.
Joint width is partly a function of the tile type. Rectified tiles can go as narrow as 1.5mm to 2mm. Standard tiles usually need 3mm or more. Wider joints are more forgiving on walls that are not perfectly flat, which is common in older homes.
For kitchen splashbacks, a stain-resistant, epoxy-based grout is worth considering in the cooking zone. It handles heat and grease better than standard cement grout and is easier to keep clean over time.
Edges and Trims
Where a tiled splashback ends on an exposed edge, you need a clean finish. The main options are a metal trim (aluminium or stainless), a pencil-round tile, or a bullnose tile where the edge is already finished.
Metal trims are the most common choice and come in a range of profiles and finishes to match tapware or appliances. They are installed as the tiling progresses, not added afterwards, so this needs to be decided before work starts.
Where the splashback meets a benchtop, a small silicone joint rather than grout is the correct finish. Benchtops move slightly with temperature and weight, and a rigid grout joint in that junction will crack. Silicone stays flexible and keeps the junction watertight.
Do Kitchen Splashbacks Need Waterproofing?
No. Kitchens are not classified as wet areas under the National Construction Code, so splashbacks do not require the same wet-area waterproofing membrane that a shower or bathroom floor needs. The tile and grout surface itself handles the moisture from cooking and cleaning.
This is different from a laundry or bathroom, where waterproofing behind the tiles is a compliance requirement. If you are unsure about the distinction, the NCC waterproofing requirements for houses set out which areas are covered.
That said, the silicone joint at the benchtop junction and any penetrations around powerpoints should still be sealed properly to stop moisture getting behind the tiles over time.
How Kitchen Floor Tiling Differs
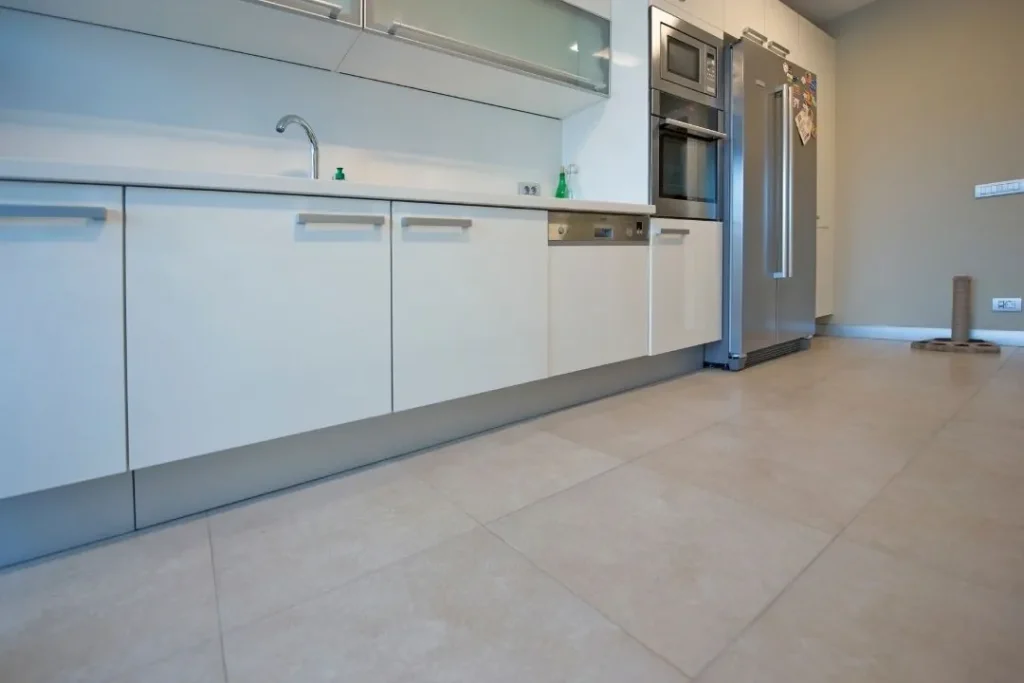
Kitchen floor tiling involves different considerations to a splashback. The main one is slip resistance. Kitchen floors are subject to spills, so tiles need an appropriate slip rating for a domestic wet area.
Floor tiles also need to handle foot traffic, dropped items and chair legs, so hardness and thickness matter more than on a wall. Larger format floor tiles, such as 600x600mm or 600x900mm, are popular in kitchens because they have fewer grout lines and are easier to clean.
Putting It Together Before You Start
The decisions that affect how a kitchen splashback looks and lasts are mostly made before a single tile goes up: tile size, layout set-out, grout colour, edge trims and how the benchtop junction is handled. Getting these sorted at the planning stage, rather than on the day, makes the job run more smoothly and avoids costly changes mid-way through.
If you are working through these choices and want a straight answer on what will work in your kitchen, talking to an experienced kitchen splashback tiler early in the process is the most practical step you can take.
Get a Quote for Your Kitchen Tiling
Whether you are updating a splashback, retiling a kitchen floor or doing both as part of a broader renovation, we work across the Northern Suburbs and surrounding areas. If you are in Epping, South Morang, Wollert or anywhere nearby, we can come out, look at the space and give you a clear, no-obligation quote.
Call (03) 9125 4500 or get in touch online to arrange your free quote.